Wednesday, June 6, 2018

Flowers and Lace Junk Journal!!


Hello everyone! I hope you are having a wonderful day!

I recently saw a Youtube video of a woman making a junk journal. I thought it was so beautiful that I just had to try and make one for myself! The name of the womans channel is Nik the Booksmith, and she is so amazing at journal making! I highly recommend checking it out!

After watching a few of her videos I decided to get the supplies I needed to make my own. I had the best time making one that I made a few! And actually have sold one online!

Here are a few pictures of a junk journal that I made for a friend!


This is the front cover. I used chip board to make the hard cover and designer paper for the cover. 
The plate on the front is made from metal and is made by Tim Holtz. And they are perfect for labeling your journals. I just sewed a button as a closure with some ribbon to keep the journal closed 


All of the pages are dyed and then sewn in to attach them to the spine so that they are nice and secure! At the ends of some of the pages I have also sewn in some old lace that I found!


This is the inside front cover. 
I created a pocket so you can tuck away any ephemera or pieces of paper you would like to save and put away. I made quite a lot of tuck spots so it would be easier to add photos.
I also added a few tabs on the signatures so its easier to flip though.


All of the pages are tea dyed along with some envelopes I dyed as well. I added the envelopes so you can use them to store your memories inside and in the back behind the envelope as well! 


Making envelopes is one of my favorite things to add as well. That way you can remove it or leave it in the journal!


Moe pockets and sewn in buttons. 
I have used music paper to decorate with also.


At the very end of the journal I made a larger envelope so that if there was any other pieces of memories, ephemera or photographs you would like to keep back to add to your journal you have a larger place to keep them! And it is removable.

Thank you so much for letting me share this junk journal with you! 
I think for my second journal I have ever made, I did pretty well!

Have a great day!

Love, Angela


Thursday, October 6, 2016

How To Make The Easiest Burlap Wreath Ever!!


Hello everyone! I hope you are having a wonderful Fall Day!!

Just the other day I saw an idea on how to make a very easy burlap wreath. So I went out and bought some burlap, came home and made one of my very own! It was so easy to make and it came out awesome! So today I am going to let you in on how you can make your own!
This is a perfect Fall craft! (Which is why I am thinking of making a few of these for craft shows I have coming up!)
burlap wreath

Supplies:
  •  Burlap Ribbon: For a standard wire hanger I used, 10yrds/30en wire.ft and it was plenty. It was 5 to 6 inches wide. If you are making a large wreath you will need more. 
  • Wire Hanger: If you don't have one dry cleaners might sell you some for cheap. 
  • Embelishments: Depending on the holiday or season you decorating for you can use anything you like! 

Step 1. Depending on the type of hanger you have, unscrew the top hook and if your hanger has a cardboard bar, remove that as well to reveal an open wire.


Step 2. With the burlap ribbon, I struck the hanger through a hole in the corner of the ribbon then went about 3-5 inches (the bigger the gap the fluffier it will be.) and stuck the hanger through a hole on the opposite side of the ribbon.


Another 4 inches and placed the hanger through another hole on the opposite side etc, etc, etc. So you are zig zagging through the ribbon about every 3-5 inches. The shorter the distance in between where you place the hanger the tighter the wreath and the longer the distance, the fuller it is.

So to make it a little more clear, you are putting the hanger through the ribbon then crossing over and putting it through again Yo side you came out onu will go through the SAME side you came out on. There is No Twisting!

The roll of burlap I used was 10 yards and this was perfect for the size I wanted. When I was done with the roll, I simply just folded the corner into the wreath.

IMG_3811

Now is where you can get creative. I have seen so many neat embelishments to adorn a wreath. And sky is the limit when it comes to decorating your own! 


I hope you like this craft idea! 
So what do you think? Leave me a comment below with your thoughts and I would love to see your recreations if you decide to make one of these beautiful wreaths!!

Take Care!

Angela

Thursday, September 15, 2016

Homemade Pumpkin Spice Sugar Scrub!


Hi guys! I hope you all are having a wonderful Fall day!
Today I have a wonderful Pumpkin Spice Sugar Scrub recipe for you!!
This Pumpkin Spice Sugar Scrub is perfect for the Fall season! Use this scrub to pamper yourself or use it as a gift! The holidays are coming up soon and this would be perfect for a Halloween or Christmas gift!!

Learn how to make a Pumpkin Spice Sugar Scrub with a Free Printable Tag by Uncommon Designs

Sugar scrubs are very easy and cheap to make. To make pumpkin spice sugar scrub, you will need coconut oil, brown sugar and pumpkin pie spice. The ratio of coconut oil to sugar is 2 to 1. I filled two small jars and used 1 cup coconut oil and 1/2 cup brown sugar. 
Place coconut oil into a blender and blend until smooth. Add the brown sugar and 1 tsp. pumpkin pie spice and blend together. If you want the scrub a bit coarser, add more brown sugar until you get the consistency that you would like. 

Learn how to make a Pumpkin Spice Sugar Scrub with a Free Printable Tag by Uncommon Designs

Transfer the scrub to a jar and add a pretty tag. I love giving scrubs as gifts because who doesn't like to get pampered? You can create an entire set of sugar scrubs in different aromas for really cheap! 
Package them up and your friends and family will love you!
Think hostess gifts, mom-to-be gifts, new mom gifts. These would also be great in goody bags if you were throwing a spa-themed party.

Learn how to make a Pumpkin Spice Sugar Scrub with a Free Printable Tag by Uncommon Designs

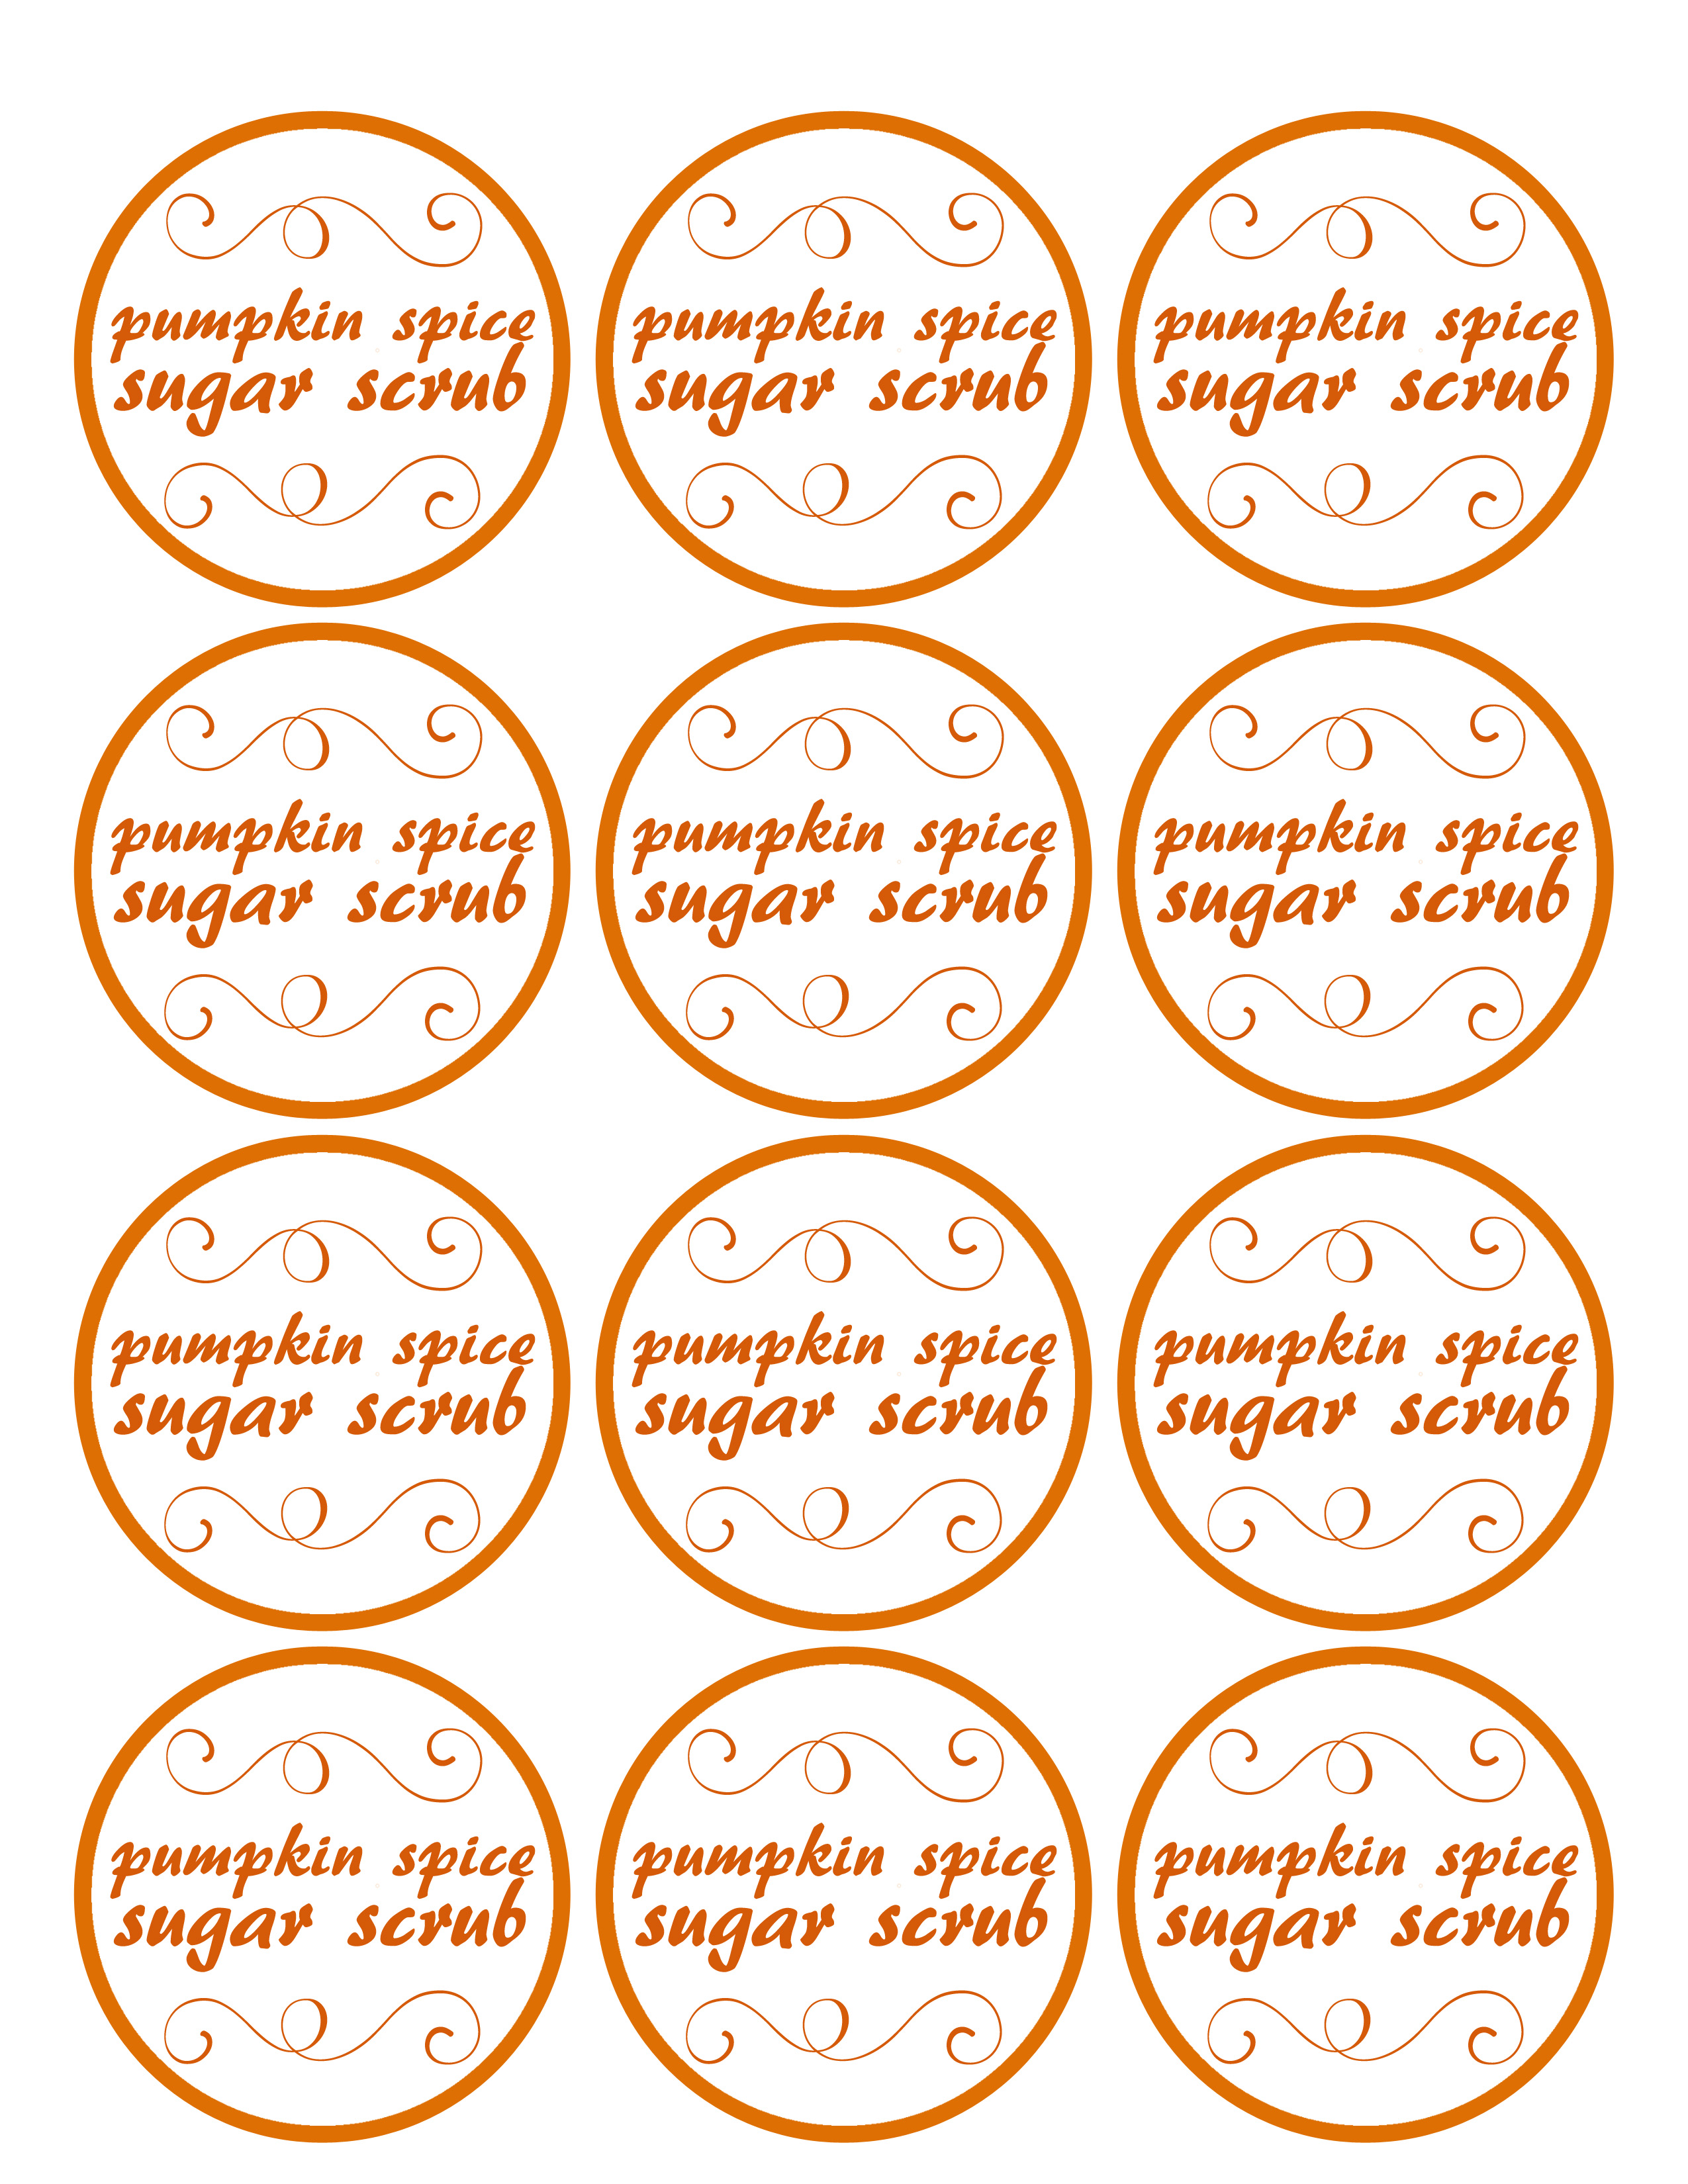
I've created some free tages for you to use. these are 2.5" circle tags. You can either print these onto sticker sheets and attach to the lid or you can tie them on with orange baker's twine. 

Learn how to make a Pumpkin Spice Sugar Scrub with a Free Printable Tag by Uncommon Designs

Learn how to make a Pumpkin Spice Sugar Scrub with a Free Printable Tag by Uncommon Designs


Learn how to make a Pumpkin Spice Sugar Scrub with a Free Printable Tag by Uncommon Designs

Download these sugar scrub tags here. These tags are for personal use only.


I would love for you to visit us at Heavenly Handmade Crafts on Facebook!

Until nest time, Take care!
Angela


Thursday, August 18, 2016

Making and Preparing Yummy Apple Butter!


Hello fellow crafters! I hope you all are having a wonderful day! I want to thank you for stopping by Heavenly Handmade Crafts blog!

Though it is only August I have recently begun to feel that familiar urge to start crafting and preparing for craft season! I am a huge fan of the Fall season and I get so excited for all the great things that come with it!

I actually have already been seeing pumpkin spiced food and even candles in stores, including fall merchandise. It puts a smile on my face. :)

So in prepertation fo upcoming craft shows, I decided to make a batch of my very favorite Apple Butter, can it and get it ready to go!

You would not believe how AMAZING my house smells while making this!


I have canned and am planning on making a few more batches soon, but I thought I would show you the finished product! I have plans to put a little more homemade touches to the outside of the jars, but this is what they look like so far! 


Most of you that follow Heavenly Handmade Crafts on Facebook, have already seen pictures of this amazing apple butter all canned up! 

A lot of people have asked me what the recipe is and so today I am going to share it with you!
Here we go!

INGREDIENTS:
3 lb Apples
1/2 tsp. Allspice
2 tsp. Cinnamon
1/2 tsp. Cloves
1 tsp Nutmeg
1 dash of Salt
3 Cups of Sugar
3/4 cup of Water or Fresh Apple Cider.

DIRECTIONS:
  • 1. Fill Crock-pot 3/4 full with peeled, cored and sliced apples. Add the remaining ingredients and stir until evenly mixed. 
  • 2. Cover and cook on low setting overnight or until the butter is of a thick, spreadable consistency. If apple butter has too much liquid, remove lid and cook on high until thickened. Stir often as butter thickens to prevent scorching. 
  • 3. Store in refrigerator for up to 6 weeks. Freeze for longer storage.
  • 4. To can the apple butter, pack into hot jars leaving 1/4 inch head space and process in a boiling water bath for 10 minutes. 


If this is your first time here, I want to welcome you! If you are interested, hop on over to our Facebook page Heavenly Handmade Crafts, where you can see many other pictures of all the other crafts that we make and have made over the past year! Don't forget to hit the like button!!

Hope you enjoy the recipe! 
Take care and I will see you soon! 
Angela

Monday, November 30, 2015

Welcome to Heavenly Handmade Crafts!


Hello, My name is Angela. And I recently just started a Facebook page called Heavenly Handmade Crafts and I would personally like to welcome you to it and this blog!

I have been crafting for most of my life. It started with my Mom, Grandma and Aunt who would sit down all the time and craft for craft shows. My sister and I would go with them sometimes and it just became the norm. I grew up watching my mother make and perfect so many different things. 
It definetly rubbed off onto me and my sister because now we, along with my Mom and Aunt craft and do shows all the time!

I decided to start a Facebook page for my crafts to share with others.
Here are some recent pictures of some crafts that I have recently finished!


My happy little snowman!! I had so much fun painting this guy that I hated to stop! I just kept adding more and more detail to him which I think really helped set him off! I painted this on an old window that I found at a yard sale. I got this window and a few others that I have painted and sold already. 
This window is one of the lagest I have painted, but I think that it came out great! 
I love smowmen, they are just so whimsical!


Rusty bell ornaments! I love these, they look so country and they also make such a beautiful sound. 
These adorn a  Christmas tree beautifully. Jingle bells are my favorite thing to decorate with this time of year! The sound is so magical!


My jingle bells!! lol
I have made jingle bell garland!! These garlands are so awesome!
Tied onto twine with fabric pieces and cinnamon sticks to not only give it a great look, but an amazing smell!

I have used different bells before when I've made these,  but these bells sound more like the bells on Santas sleigh in the movie The Polar Express!


My burlap glass Christmas tree ornament!
I think these are so beautiful and the glass really picks up the light from the tree! Along with a little glitter I put inside!


More bells! I told you I love bells! lol
These are strung on wire and tied up and ready to put up on the tree or door nob! 
This again makes the most beautiful sound, it just brings that feeling of Christmas to your home!


Above photo shows the display at our last craft show. We actually sold quite a bit before I took this picture, but this will give you an idea on how our booth looks! I have painted all of the books and picture frames and signs. I also made ornaments and my bell garland that had sold before this picture. My sister makes the signs, candles, nightlights, ornaments, while my Mom with her display to the left of this picture makes painted snowman ornaments, top hat ornaments, and top hat tree toppers.
Along with cheesecloth snowmen, santas and a veriety of things!
Are booth is just that, a variety of things, but they all seem to go together. :)


My Aunt makes sewn and stuffed items that are so adorable! We love the Christmas season and decorating for it. 


 I want to thank you all so much for stopping by and supporting my blog and Facebook page.
I appreciate it so much, every time I see I have more people liking my page or following my blog, it just makes my day! 

Come check it out!! Heavenly Handmade Crafts!
I hope you all have a wonderful day and I will see you next time! 

Angela Rice.